Oat milk is my favorite plant milk to make coffee with. But it can be difficult to froth oat milk when first starting out. In this guide I'll be sharing my barista tips and tricks on how to steam oat milk for barista quality coffee perfect for latte art.

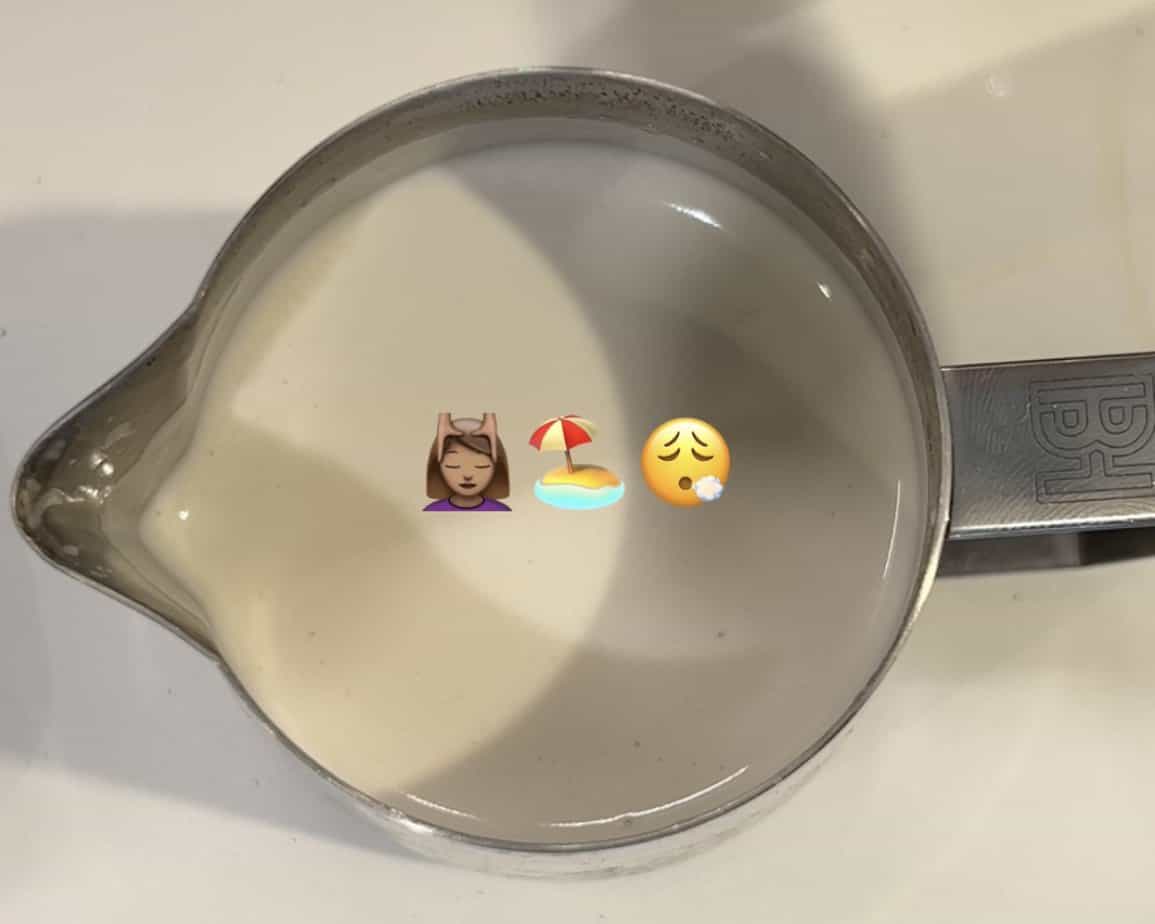
An oat milk latte I made.
Tips for frothing oat milk for latte art
Before we get to my step-by-step guide, here are a couple tips you need to know before even starting to froth!
These tips are game changers.
They will dramatically improve the quality of your frothed oat milk and help you make latte art with oat milk!
Tip #1: Use a barista grade oat milk!
Normal oat milk is lower in protein compared to dairy milk, and this is what makes it harder to froth for latte art as there is less protein to combine with the fat.
Barista grade oat milks have plant based thickeners in them that help bind the milk to make quality micofoam.
A brand that I like that makes good barista oat milk is Oatly Barista Milk. I've written a guide on the best barista oat milks here.
Tip #2: Use a darker roasted coffee bean with lower acidity.
Alternative milks have issues with light roasted coffee with higher acidity. Then don't play well.
If you only have light roasted coffee at home, swap it out with a medium to dark roast bean with low acidity! You will find that your milk won't curdle and you will have a good espresso base for latte art!
Trust me. If you have good milk steaming technique, but still can't quite get good results with oat milk, one of the above may help solve your issues.
Now let's get into the actual technique I use when making oat milk as a barista!
How to steam oat milk
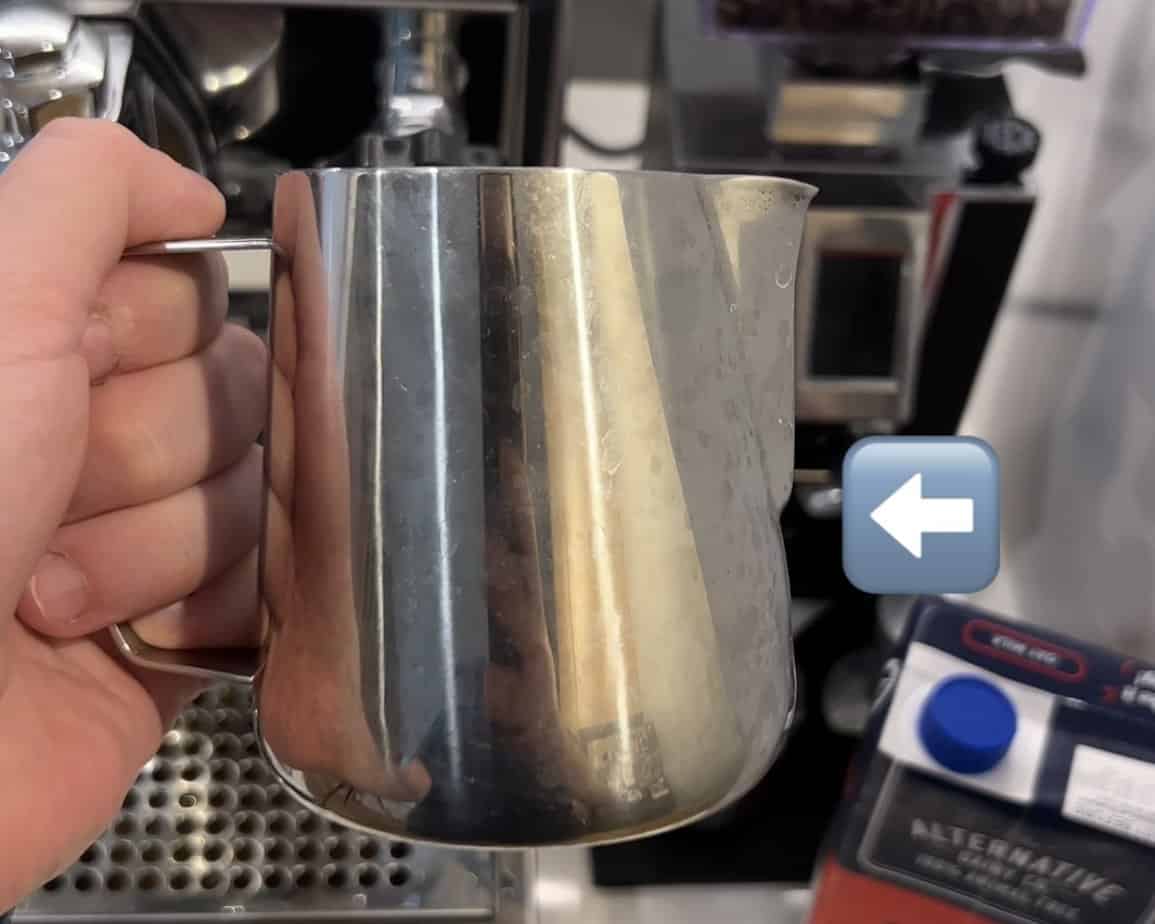
1. Fill milk to lower "V" of jug spout
The first step is to pour the right amount of milk into your milk jug. This is important.
Too much milk and you won't have enough room to froth, and too little milk, and your milk will scream as it'll heat up too fast.
You want to fill the milk up mid way up your frothing pitcher to the lower "V" of the spout.
Also make sure to give your oat milk a good shake before pouring to make sure it is well combined with the thickeners.

Fill the milk to the lower v of the jug.
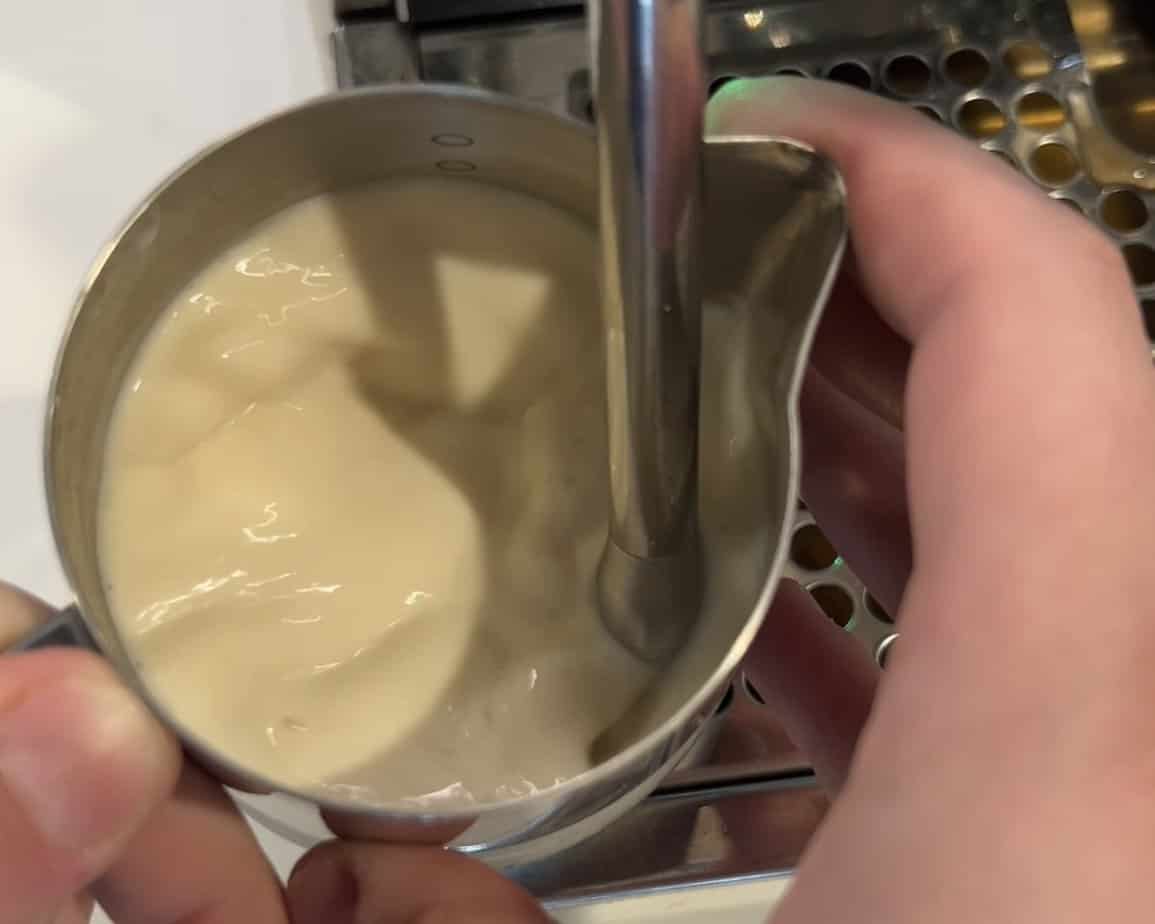
2. Position steam wand off centre and just under the surface of the milk
Put your steam wand off-centre and just under the surface. So when you turn the steam on your espresso machine on, the milk will spin in a whirlpool motion right away.

You want to keep the steam wand off centre.
3. Introduce air slowly to make micro-foam
You now want to introduce air slowly into the oat milk. You want to hear gentle tearing sounds. This means you're doing it right. If you hear loud roaring or screeching, you're doing it wrong.
You want to aerate oat milk longer compared to steaming dairy milk. I recommend 5-10 seconds depending on your machine.
While aerating you want to make sure the milk is always spinning in a whirlpool motion!
4. Whirlpool the milk till it reaches temperature
Once you have introduced enough air, now you will drop you steam wand a fraction under the milk so you hear no tearing! It's the slightest of movements!
You now want to keep spinning the milk until it reaches temperature, a max of 55 degrees Celsius / 130 Fahrenheit. You can use a milk thermometer to get this right.
You don't want to overheat oat otherwise it will curdle. It has a lower max milk steaming temperature compared to dairy milk.
5. Thump and rest!
Give the milk a thump to get rid of any big air bubbles, then let it rest!
This is an important step!
You want to let the oat milk rest for 10-20 seconds as this will help set the microfoam.
It's not like dairy how you pour right away. For best results let the milk chill!

You have to let oat milk rest!
6. Spin and pour!
Now all that's left to do is give your milk a spin to make sure the micro-foam and milk is silkily and combined, then start pouring!
You've now learnt how to make barista quality oat milk for latte art!
Oat milk steaming video guide
If you're a visual learner, below is a video on my TikTok page I made on how to steam oat milk. It's a good summary of the above.
@latteartguide Replying to @Cassie This is how to steam oat milk for latte art! #latteart #oatmilk #oatmilklatte #coffee #alternativemilk #vegancoffee ♬ Cloudy Sky - Tundra Beats
Oat milk FAQ
Below are some common questions people have asked me about frothing oat milk. If you have any questions of your own, feel free to leave a comment below and I'll get back to you!
What oat milk is best for latte art?
You want to use a barista grade oat milk with plant based thickeners to get the best, silky milk, for latte art. Avoid normal oat milks as you will get poor results.
How to pour latte art with oat milk?
The key is to steam your milk well, and then angle your cup, and pour the milk into the centre at a consistent and steady stream.
Conclusion
And there we have it! You now know how to make barista grade oat froth perfect for coffees and latte art. If you need any tips, feel free to reach out!

