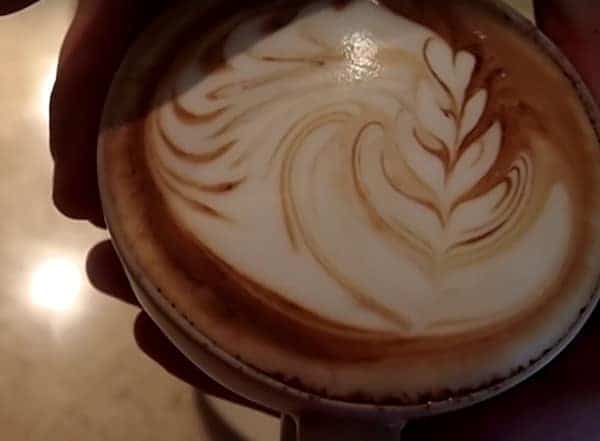
In this guide you'll learn how to pour the latte art wave tulip. The wave tulip is the combination of two coffee art techniques, the rosetta and tulip. This is a simple intermediate design that produces great results.
How To Pour A Latte Art Wave Tulip
1. Angle The Cup
Begin by tilting your cup on an angle. Then introduce the milk on the side of the cup.
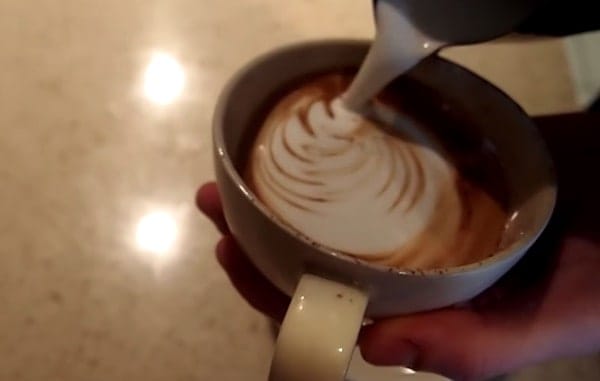
2. Pour The Rosetta On An Angle
Give the spout of the jug a quick nudge forward and then start shaking the jug side-to-side like you would when creating a rosetta.
However, the goal here is to get the waves to roll around the side of the cup. You want to make the crema spin with the milk.

3. Stop The Pour And Start Tulip
Once the waves have reached the bottom of the cup stop pouring and then bring your jug back to the top of the cup.
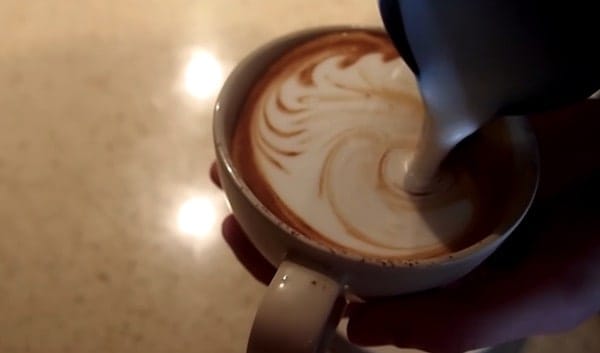
4. Pour The Tulip
Here you will do the exact same steps as when creating a tulip. However, You are aiming to make the tulip within the waves just created. The key to make a tulip is to pour little semi-circles within each other.
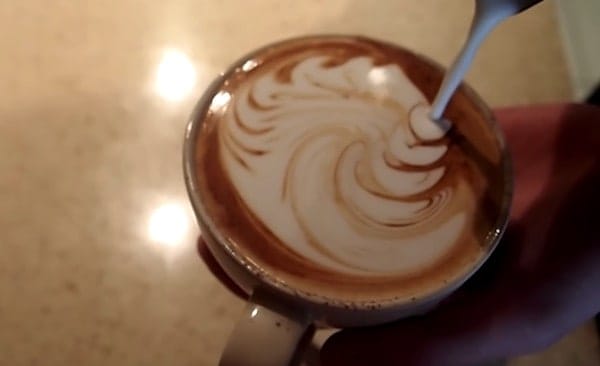
5. Follow Through And Complete The Design
Create small circles — one within each other — as many as you can do, before pulling your jug up to make a steady stream of milk, and then following through the circles to create the tulip. Your latte art wave tulip is now complete!
