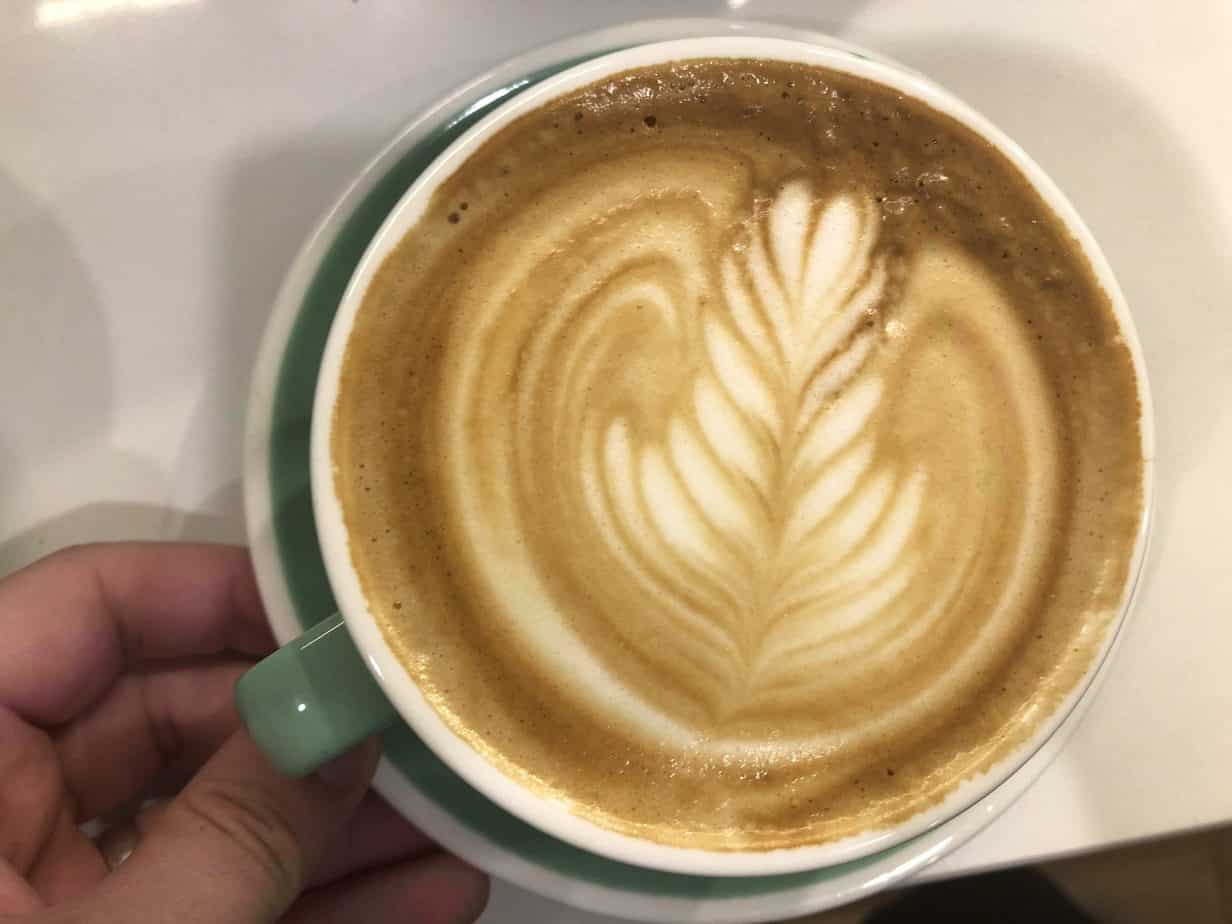
In this guide you will learn how to make rosetta latte art (also known as the fern).
The rosetta is one of the two fundamental latte art designs all baristas must learn before moving onto more complicated techniques (the other being the heart). It is also one one of the prettiest -- a perfectly symmetrical rosetta is striking.
Once you master the rosetta you will be well on your way to becoming a latte art expert as it makes up many advanced latte art techniques.
How To Make A Latte Art Rosetta
Below is my step-by-step guide on how to pour a latte art rosetta. Make sure to also check out the video below of me pouring a rosetta. Now get practicing!
Difficulty | |
Prior Knowledge |
1. Create the Cloud
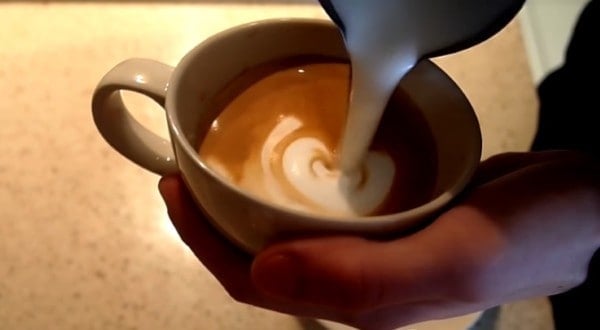
Rest the spout of your jug against your cup. Next let the milk flow in and move your jug to the opposite side of the cup and start shaking side-to-side at a consistent pace until a white cloud starts to appear. You want to be pouring at a medium speed and not too slow, otherwise the foam will not come out.
2. Shake and Back
When this cloud appears, continue shaking your jug back and forth at a consistent pace into the centre of the cup. Once the pattern catches up to the middle of the cup, start steadily moving your jug back towards you. Make sure that the spout of your jug is resting on the cup as this as it gives you more control.
Tip: At the start of the pour, keep pouring and shaking into the middle of the cup, as the speed of the pour will push the design towards the back of the cup. You don't need to move back yet.
3. Smaller Shakes
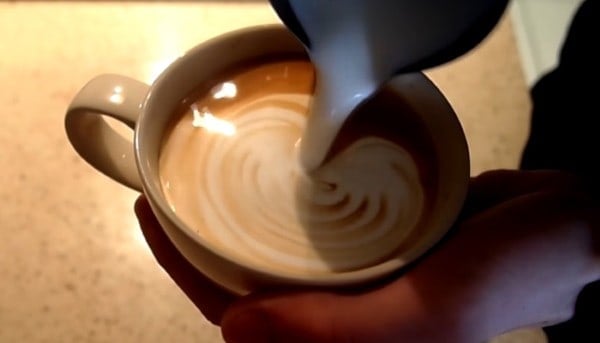
The closer you come to the end of the cup make your shakes smaller and smaller until you start to form a little ball/heart shape. This is the final step before finishing it off.
4. Lift and Swipe
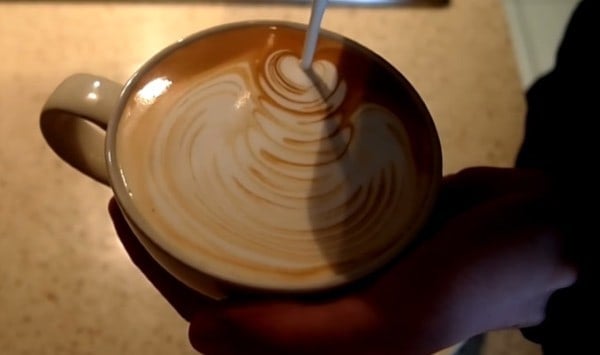
Once you have no more room and your cup is almost full. Pull your jug up to create a thin steady stream of milk and follow through the middle of the waves to create your rosetta. And you’re done! A Super simple yet elegant coffee design.
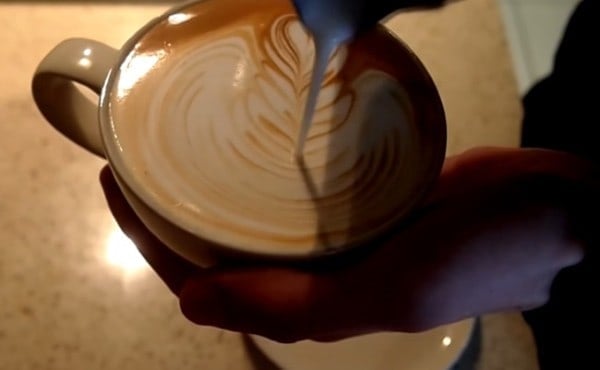
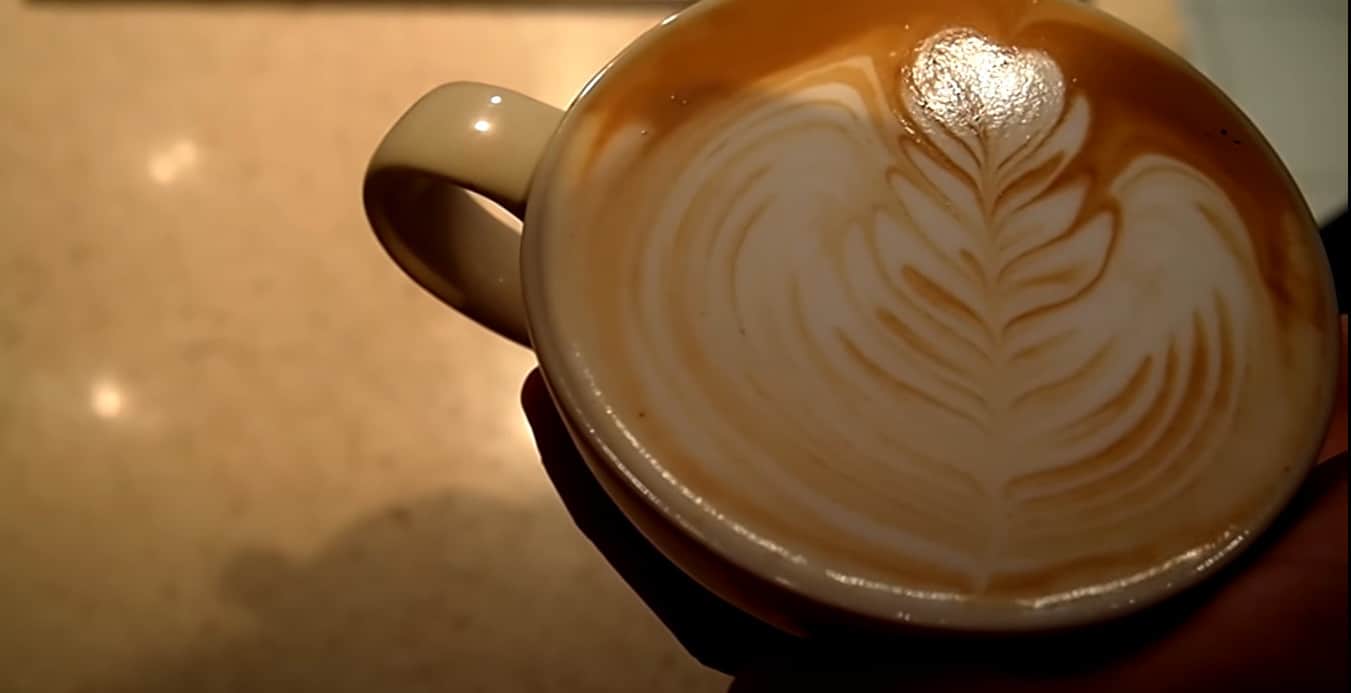
5. Complete!
The great thing about a rosetta is that it's the foundation of a lot of other designs. So make sure to keep practicing this one until you get it right! Below I have listed some tips that I found helped me when making rosettas.
Rosetta Coffee Art Tips and Tricks
Below are some tips I've picked up along the way that has helped me pour better rosettas.
Make sure your shot is good
Your espresso shot is the canvas of your art. So you want to make sure it is nicely extracted before pouring in your milk. I've written an espresso extraction guide here you can review if you need a refresher.
Swirl your espresso before pouring your milk
Sometimes even if you extract a great espresso, there may be different colours or bubbles in the shot. If you find your shot has these issues, make sure to tap your cup and swirl your espresso. This will make it so you have an evenly colored canvas to pour your latte art into. This will also help with the contract of the milk to the espresso.
Practice your speed
When you first start out with latte art, you might be pouring too fast or slow. You want to practice the speed in whcih the milk comes out of your jug, as the speed helps control width between rosetta leaves.
Angle your cup
If find that angling your cup when pouring you milk in helps with latte art as you can get your jug closer to the surface of the espresso. Try this out the next time you make a rosetta coffee.
Use the correct cup!
When first starting out with latte art, I suggest that you use a round latte art cup. This makes it much easier to pour designs as the milk will follow the shape of the cup. When you have cups with straighter and higher angles, it is more difficult to pour latte art. A rosetta is a very flowy latte art, so having the right shaped cup makes it easier to create.
Keep Learning! Other Latte Art Guides
Make sure to check out our other latte art guides. Either vist our main page on learning latte art or click the links below to check our our other guides more more complex pours.
Latte Art Classes
1. Basics of Coffee Making
2. Beginner Latte Art
3. Advanced Latte Art

