There’s nothing better than waking up sunrise with a great coffee in hand. But what if you're not a morning person? Well I have the perfect coffee art for you because today you will be learning how to pour a latte art sunrise!
Difficulty | |
Prior Knowledge |
How To Pour A Latte Art Sunrise
Below is my step-by-step guide on how to pour sunrise latte art. I've also shot a video on my YouTube channel above so you can see the technique in motion.
1. Create The Milk Circle
Begin by resting the spout of your jug against your cup and allow the milk to flow in the center of the cup. While this is happening, rock your jug side-to-side about 1 centimetre (1/3 of an inch) to each side. When a semi-circle forms stop the pour.
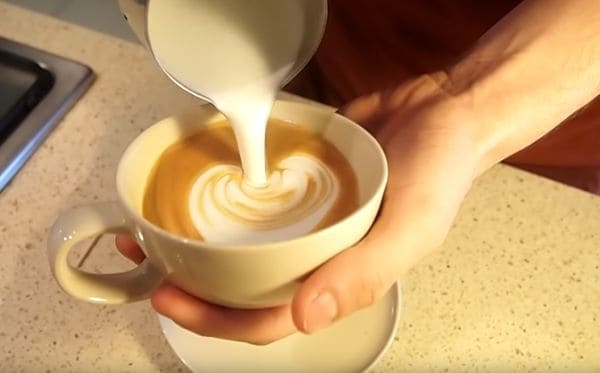
2. Create Second Milk Circle
Next, repeat step 1 but inside the already created semi-circle. Rock your jug side-to-side just like in step 1 until a circle forms inside your already created semi-circle. Stop the pour when your cup is full. You will notice that there is now one big circle with a ‘halo’ around it.
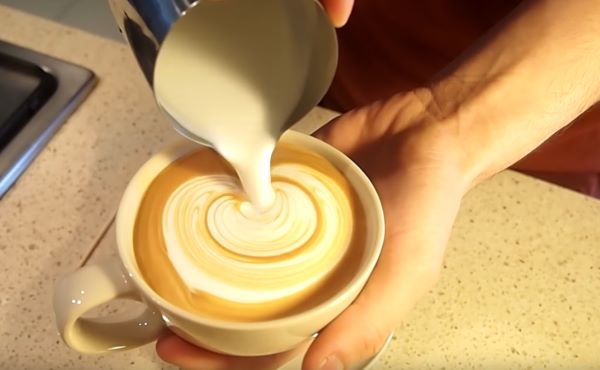
3. Sprinkle Your Chocolate
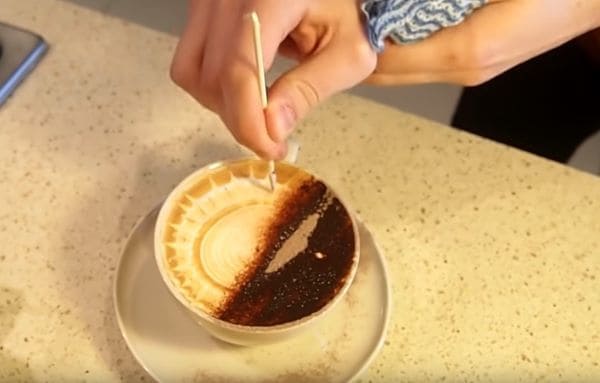
Now grab your chocolate powder and cover the lower half of your circle with chocolate. This will create the landscape of your sunrise.
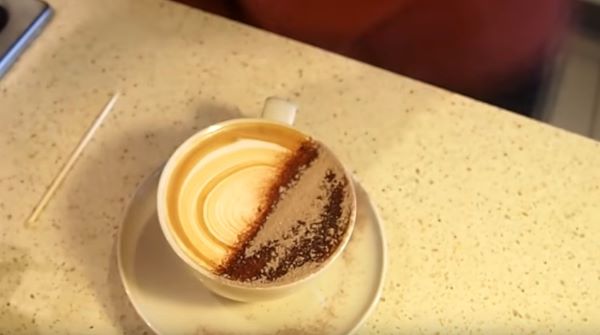
4. Draw The Sun-Rays
Now it is time to etch in (draw) the sun-rays. Grab a pointed rod such as a tooth pick or barista thermometer and create sun rays on the halo of your design.
Simply dip your rod in the coffee about a centimeter deep and then push out to the outside of the cup while lifting your rod. Repeat this several times around the circumference of the halo.
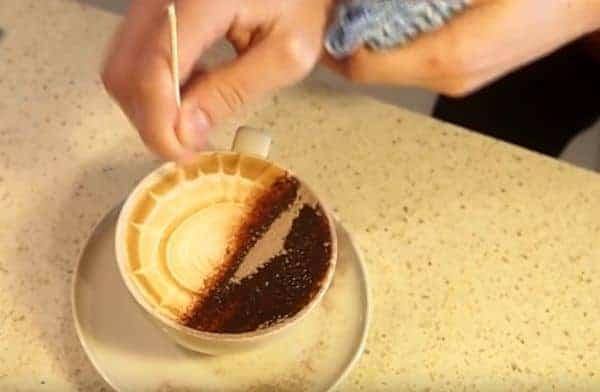
5. Draw Contrast Sun-Rays
An optional final step is the repeat step 4 but with the darker colour of the espresso/chocolate. You will find this will create a nice contrast in the sun-rays.
With that you’re all done to enjoy your coffee and sunrise -- even if you slept in ;).
Keep learning! More latte art guides below...
Latte Art Classes
1. Basics of Coffee Making
2. Beginner Latte Art
3. Advanced Latte Art

